
Ever since we started milling flour, we've been searching for an easy bread recipe that makes you feel like a baking pro in less time, and with guaranteed results. We've experimented with the popular no-knead method here, bringing you a delicious and satisfying loaf that is ready in just hours and is tailor-made for use with our freshly milled flour. Experiment with different flours to make it your own, but we suggest always sticking with a base of at least 75% Flourist Sifted Red Spring Wheat Flour for best results.
A Dutch Oven is required for this recipe, and we are loving this Lodge Cast Iron Dutch Oven. It is far less expensive than most other brands and works like a charm.
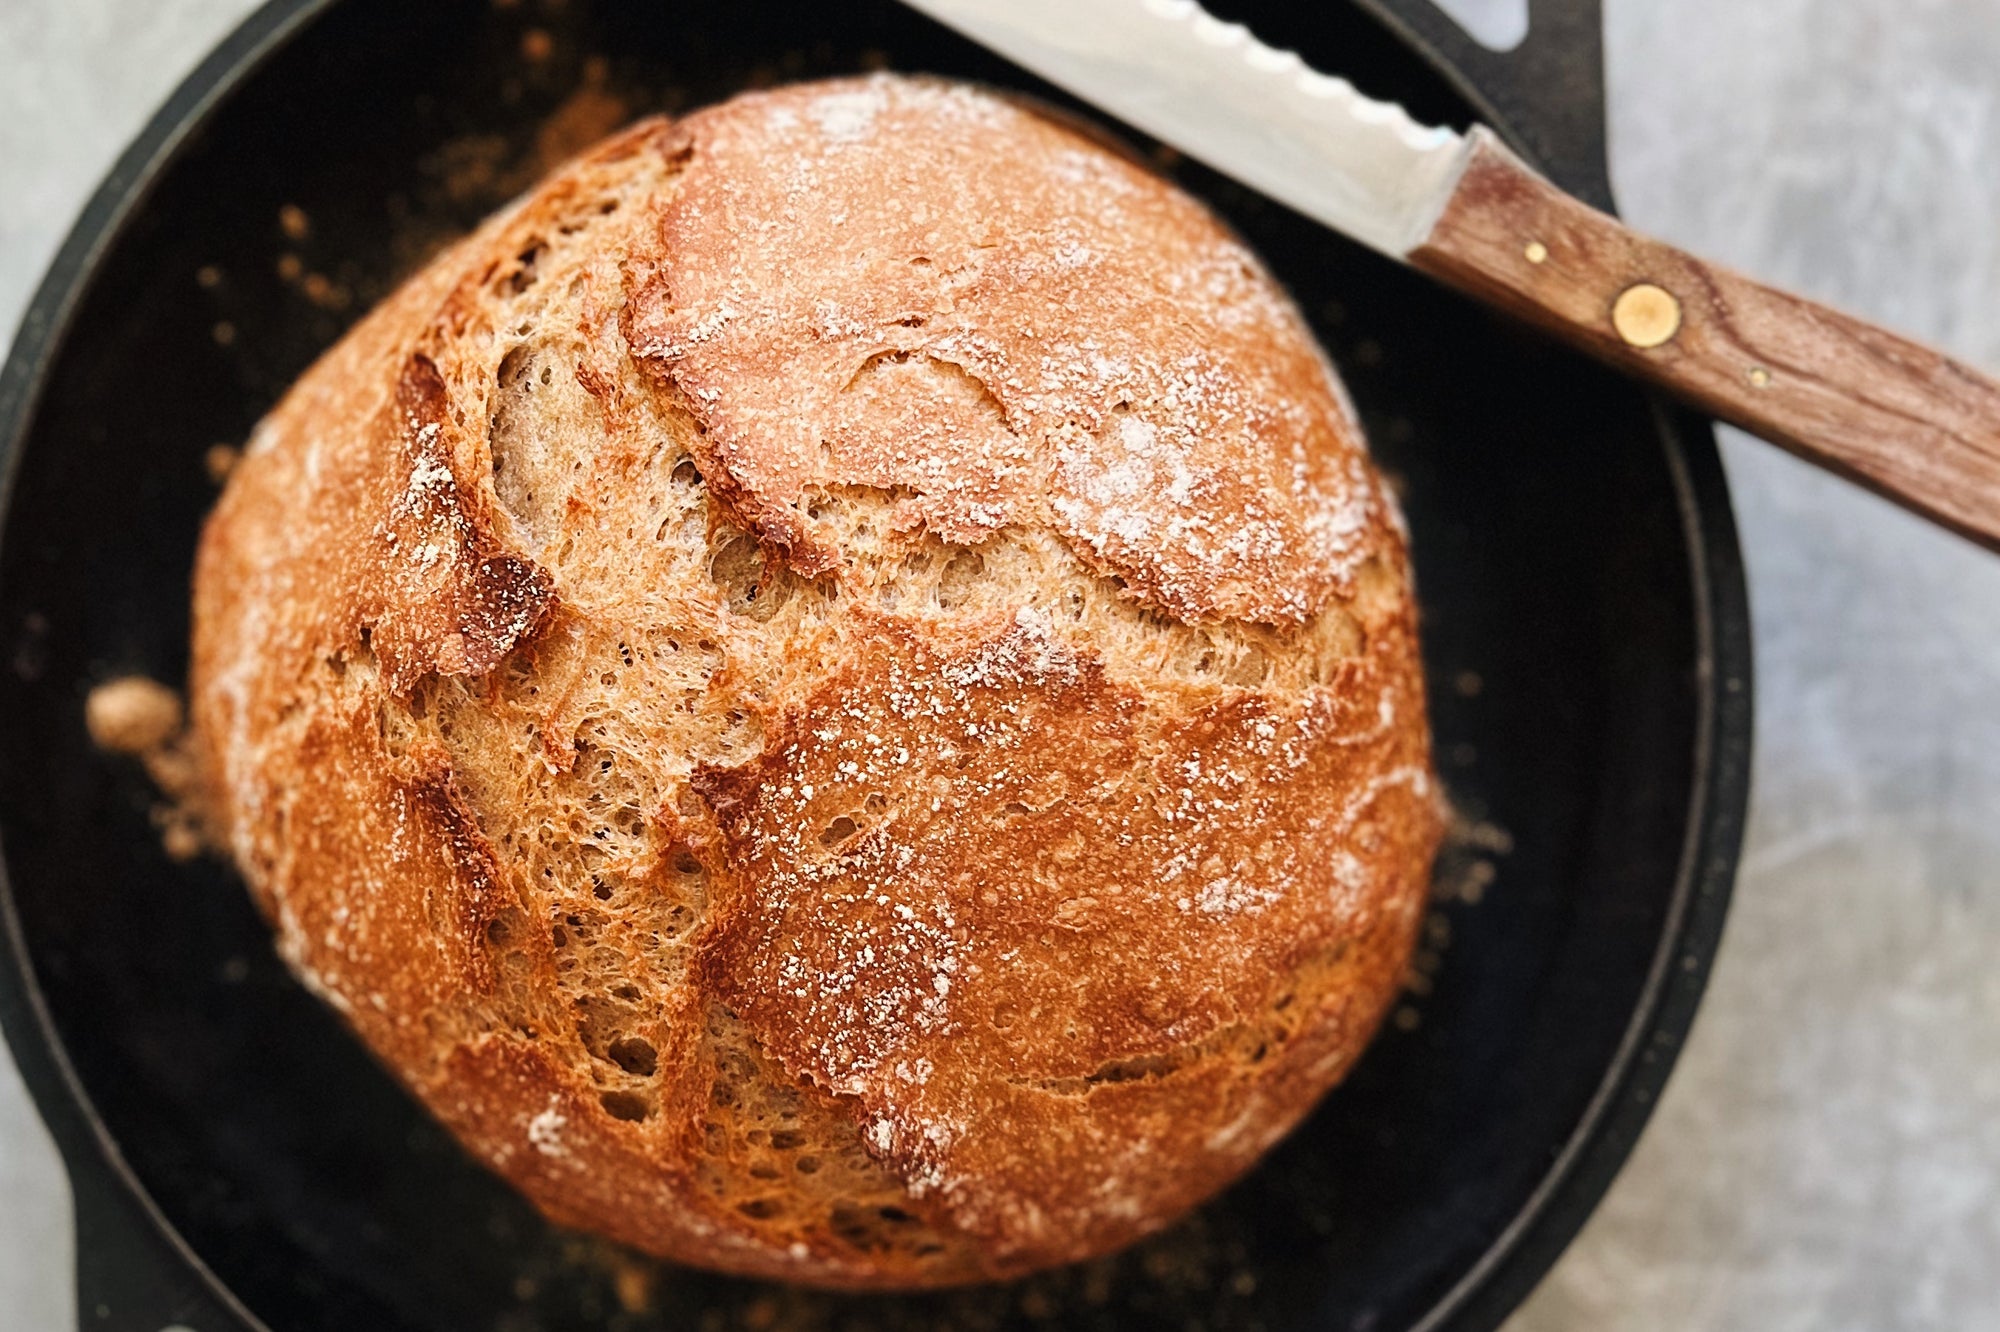
Quick No-Knead Bread
2 cups lukewarm water
1/4 teaspoon instant or other active dry yeast
3 scooped cups or 510 grams Flourist Sifted Red Spring Wheat Flour
1 3/4 teaspoons salt
Additional flour for dusting
The Dough
Start by adding the lukewarm water to a mixing bowl. The temperature here is important, as the correct water temperature will ensure the quick activation of the yeast. If you have a thermometer, the ideal temperature is 78F degrees or so. If you do not have a thermometer, then use the 'child's bath' rule: the water should be barely warm to the touch, but not too warm.
You will know when the dough is ready as it will have visibly risen to cover the lower portion of the bowl, and will be sticking to the sides. The dough should also have visible air bubbles.
*Fluctuating temperatures of the room and the water can affect rising time and this is a flexible component of the method.

To Bake
When ready to bake, heat the oven to 450 degrees. Once the oven reaches temperature, place the empty dutch oven into the oven and heat for 30 minutes. 5 minutes before the 30 minutes is up, prepare the dough. Remove the dough from the bowl with your hands and place onto a lightly floured surface. Add some flour to the loaf for shaping. Using your hands, gently form the dough into a round loaf, using gentle 'pulls' to form a smooth, round loaf. The loaf should become smooth and round. Dust with additional flour.
Using oven mitts, very carefully remove the hot dutch oven from the oven. Open the lid and dust the bottom of the dutch oven with a small amount of flour. Using your hands, very carefully pick up the loaf and place it in the dutch oven (being very careful not to make contact with the hot dutch oven!). Place the lid on the dutch oven and return to the 450-degree oven. Bake for 38 minutes without peeking. Remove from the oven and allow to cool before devouring. The rise on this loaf will be about 3.5 4 inches high.


Comments
Can I use your sifted wheat flour for this recipe? Also, can I use a porcelain coated Dutch open and get the same results or does it have to be the cast iron type?
Can I use something else besides a dutch oven to bake the bread in as I currently don’t own one?
Hi Maxine! The temp is F, to be just higher than lukewarm. We’ve updated the post! Thank you for pointing that out! :)
Is the water temperature meant to be 78C or 78F? There are no units mentioned.
I just had to pop in and say that your photographs are absolutely stunning! Makes it look really tasty :)
Hi Charlene! I’ve never tried to do this but I don’t recommend it! This dough isn’t meant to be divided. Hope that helps!
Can the recipe be doubled or tripled?
Hi Julian! The one cup measurement here is meant to be fluid, but an average cup of flour is roughly about 150-160 grams. We hope that helps, thank you!
Hi Brenda! That sounds a little small though we don’t recommend halving the recipe as the loaf won’t bake the same way or at the same time. It’s worth a try!
Hi Donna! This recipe is developed specifically for use with our Sifted Flours, though the Whole Grain should work as well at this ratio. It does produce a very soft dough, so as long as it wasn’t un-cooked it sounds like it might be right. Feel free to email us if you have any more specific questions! We’ve made this recipe many times and it works perfectly every time if it is followed to the letter! I hope that helps.