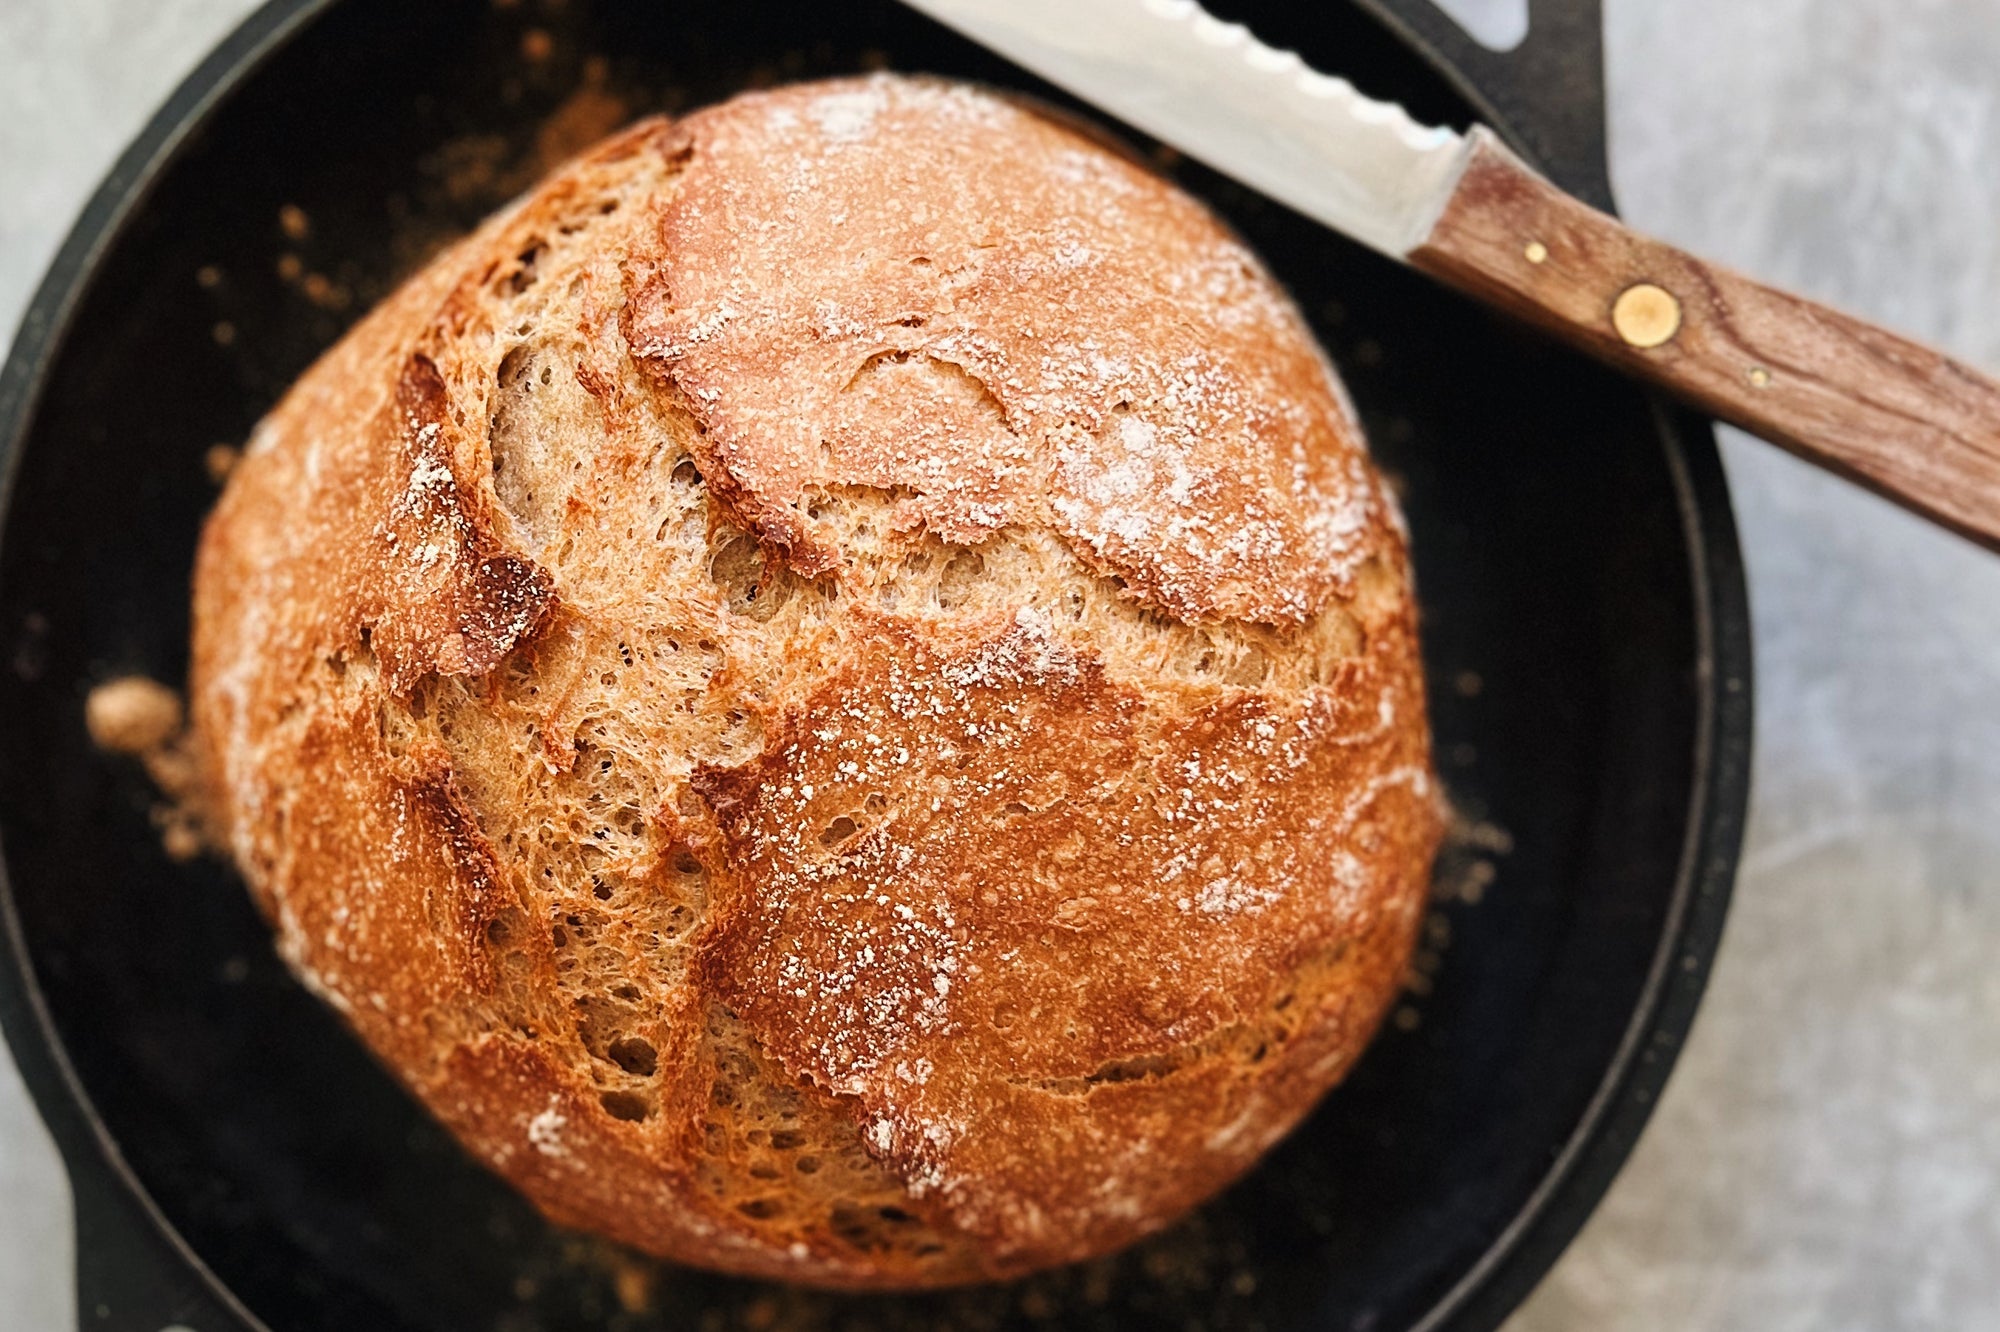
Ever since we started milling flour, we've been searching for an easy bread recipe that makes you feel like a baking pro in less time, and with guaranteed results. We've experimented with the popular no-knead method here, bringing you a delicious and satisfying loaf that is ready in just hours and is tailor-made for use with our freshly milled flour. Experiment with different flours to make it your own, but we suggest always sticking with a base of at least 75% Flourist Sifted Red Spring Wheat Flour for best results.
A Dutch Oven is required for this recipe, and we are loving this Lodge Cast Iron Dutch Oven. It is far less expensive than most other brands and works like a charm.
Quick No-Knead Bread
2 cups lukewarm water
1/4 teaspoon instant or other active dry yeast
3 scooped cups or 510 grams Flourist Sifted Red Spring Wheat Flour
1 3/4 teaspoons salt
Additional flour for dusting
The Dough
Start by adding the lukewarm water to a mixing bowl. The temperature here is important, as the correct water temperature will ensure the quick activation of the yeast. If you have a thermometer, the ideal temperature is 78F degrees or so. If you do not have a thermometer, then use the 'child's bath' rule: the water should be barely warm to the touch, but not too warm.
You will know when the dough is ready as it will have visibly risen to cover the lower portion of the bowl, and will be sticking to the sides. The dough should also have visible air bubbles.
*Fluctuating temperatures of the room and the water can affect rising time and this is a flexible component of the method.

To Bake
When ready to bake, heat the oven to 450 degrees. Once the oven reaches temperature, place the empty dutch oven into the oven and heat for 30 minutes. 5 minutes before the 30 minutes is up, prepare the dough. Remove the dough from the bowl with your hands and place onto a lightly floured surface. Add some flour to the loaf for shaping. Using your hands, gently form the dough into a round loaf, using gentle 'pulls' to form a smooth, round loaf. The loaf should become smooth and round. Dust with additional flour.
Using oven mitts, very carefully remove the hot dutch oven from the oven. Open the lid and dust the bottom of the dutch oven with a small amount of flour. Using your hands, very carefully pick up the loaf and place it in the dutch oven (being very careful not to make contact with the hot dutch oven!). Place the lid on the dutch oven and return to the 450-degree oven. Bake for 38 minutes without peeking. Remove from the oven and allow to cool before devouring. The rise on this loaf will be about 3.5 4 inches high.


Comments
A note about chewy bottoms. This has happened to me when I’ve let the bread cool in the pot, rather than immediately pull it out to cool on a rack.
Hi VJ, I’m not exactly sure what you mean by chewy! Was the loaf perhaps under baked? If you can email us at info@flourist.com we can better help you!
Hi there,
I followed the recipe & instructions & the bottom of the bread, especially the crust was chewy. Could I have overworked the dough?
Hi Vita!
I would definitely suggest increasing the time for the bake. If you have a thermometer the best way to check for doneness is to see what the internal temperature of the loaf is. The temperature should be at least 200°F.
Made this bread today – followed the recipe to a T, gorgeous, aromatic, all great, but a bit raw (wet) in the middle. I understand that each oven is calibrated differently. Should I increase the time of baking?
Thank you very much!
For your no knead bread, since you are out of the flour in the recipe is there a four I can substitute for it? I have all purpose and your spelt flour.
Hi Corinne! The dough should not be too sticky ~ it should be workable and may stick a little to your hands. Did you use a scale to ensure you had the right amount of flour? This could contribute to an overly sticky dough. We recommend going through the steps posted in our Facebook Bakers Club: https://www.facebook.com/groups/flouristbakingclub//. It could help! Let us know!
Yikes! followed the directions. When mixing dough was very wet & stuck heavily to the bowl. When I dumped it out onto a floured surface it stuck like glue to the bowl, my hands & countertop, despite copious additions of flour. Did I do something wrong? Is this how it was supposed to be?
For those who after 44 years are now fully metricated, 2 cups is very close to 475 milliliters. Incidentally, for people interested, this produces a dough with a 93% hydration rate which is a very wet dough indeed (and is the secret to its success).
Hello Jean! Thank you for your question – sorry for the delay! You can definitely use the Sifted Wheat Flour for this recipe! You can use any Dutch Oven for this recipe!