
Note: this recipe was originally published in 2019, and after much feedback and in response to a new wheat crop, we updated our recipe here. We decided to keep the original published for those who have become fond of the old version! For new videos and the updated recipe head here.
Making sourdough bread from scratch can seem daunting, but with time and perseverance, it can become something that is easily added to your weekly routine. It will take some trial and error as sourdough bread has many variables that can all impact your finished product.
Adjusting water temperatures and ratios is a great way to experiment with what works in your home. This method takes about three and a half to four hours but is not very hands-on or labour intensive. A good dutch oven is necessary to generate enough steam in your home oven to create the beautiful crust and soft interior that is associated with good sourdough bread.
A kitchen scale is required for this recipe, in order to eliminate the variable of too much or too little flour, starter, water, or salt. To learn about how to make and maintain your own sourdough starter head here. For more in-depth tips on sourdough starter maintenance, head here.
Basic Sourdough Boule
Yield: two loaves
1000 grams Flourist Sifted Red Spring Wheat Flour
825 grams warm water (between 82-85°F)
175 grams sourdough starter
25 grams salt
Plan to prep the loaves the day before you would like to enjoy fresh bread (this will require up to 4 hours). This recipe is easily halved or doubled depending on how many bannetons you own.
Float Test
First, check to make sure that your sourdough starter is ready to be used by performing a float test. This is done by dropping some of the starter into lukewarm water to see if it floats or if it sinks. If it floats, it is ready to use and you can begin making your bread. If it sinks, it requires more time to become active.

Autolyse
Weigh the water first, by adding a large mixing bowl and hitting the tare function on the scale to balance the weight at zero. Add the sourdough starter. Mix with your hand to break up the starter and then add the flour. Mix by hand until there are no dry spots and a shaggy dough is formed. Let the dough rest in a warm place for 30 minutes covered with a tea towel. This stage is called the autolyse.


After the 30 minutes has passed, the dough should look like this.

Add Salt
Next, combine the salt with 2 tbsp of lukewarm water and add to the dough. Wet your hands and squeeze the dough to incorporate the salt into the dough.


First Fold
Once combined, perform your first fold by grasping the top of the dough and folding it onto itself by pulling it towards the bottom, doing the same from the bottom to the top, and the same from side to side. Flip the dough over and let sit again, covered with a tea towel, for 30 minutes.


Bulk Fermentation
Repeat this folding process 5 more times for a total of 6 folds with 30 minutes of rest time between each fold. This is called the bulk fermentation stage.
After the last fold and final 30-minute rest, lightly flour the top of the dough or your counter to prevent the bread dough from sticking, and invert the dough onto the counter. Divide evenly into two loaves and prepare to pre-shape.


Pre-shape & Bench Rest
To pre-shape, bring the edges of the dough into the center, being careful not to deflate the dough by pressing too hard. Once the dough is in a round shape and feels taut, flip the loaf over and tighten further by rotating the boule with a bench scraper and your hand and pulling the loaf in on itself. The loaf should begin to feel taut but the surface should not tear. Let sit for another 20-30 minutes. This is called the bench rest.


While the dough is resting, prepare your baskets. You can either flour the inside of the basket generously or insert a tea towel into the basket and flour that. Using a tea towel means you will not get the ridges from the basket, but is also easier to remove the loaf if it is wet and sticky.
Final Shape
Once the bench rest is complete it is time to do the final shape. Flip the dough over with your bench scraper and begin folding the dough in on itself. You want to make the dough as taut as possible, as this will create a nice high loaf and also help the scores to open up beautifully.
Once you have finished shaping your loaf, gently place it seam side up in your floured basket. Let rest in the fridge overnight for 8-12 hours. This is called the final proof.


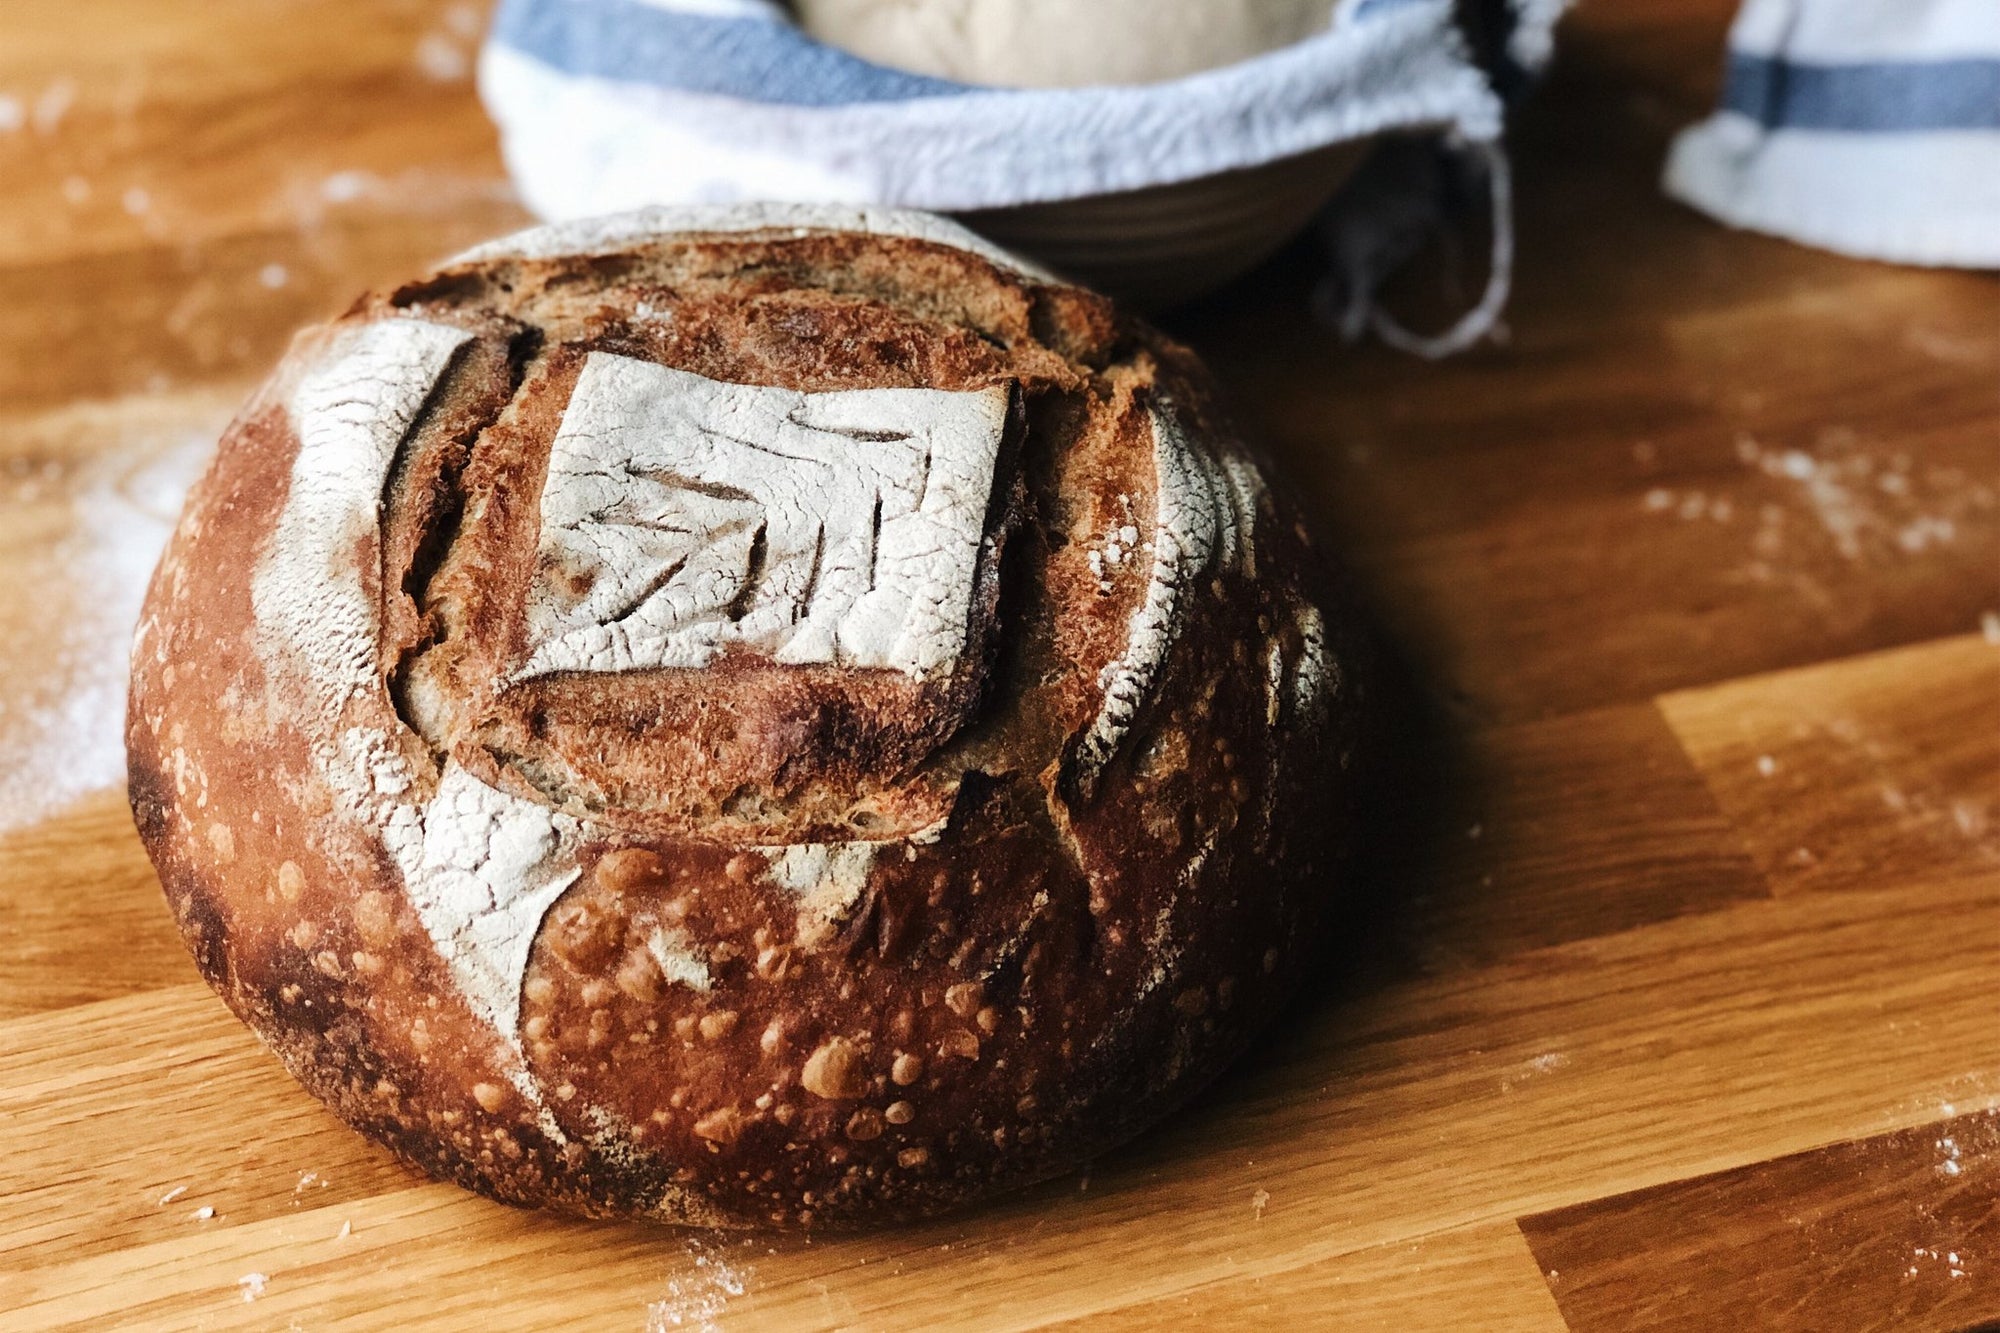
Baking
Preheat your oven to 450°F. Place a dutch oven with a lid inside the oven while it is preheating. Remove one of the loaves from the fridge and let rest at room temperature in the basket for 20 minutes while your oven is preheating. Carefully remove the dutch oven from the oven and invert your loaf into it. Score as desired, using a sharp razor blade or sharp paring knife. Replace the lid and return the dutch oven to the hot oven.
Immediately lower the heat to 425°F. Bake for 30 minutes then remove the lid, being careful as steam will release. Bake for an additional 10-15 minutes, until the colour is nice and dark and the bottom sounds hollow when you knock on it. Alternatively, you can check the internal temperature which should be between 190°F and 200°F. Let cool on a wire rack before slicing. Enjoy!

Comments
Can anything be added i.e. seeds/nuts or fruit? And if so, at what stage?
Also, could I use a portion of another flour, say spelt or rye?
Hi Elin! The recipe can definitely be halved! Keep in mind you can also keep the second loaf proofing in the fridge for a few days until you are ready to bake as well.
My new sourdough starter seems to be active enough that I can start my first loaf with it in a few days. Can this recipe be halved? I’d rather experiment with a smaller amount (and I only have one Dutch oven). Thanks!
Hi Sandra! We’ve never heard of this before but it is fascinating! Alessandra has always used stainless steel and never experienced any issues at all. We’d love to learn more about this though!
I’m surprised to see you using a stainless steel bowl in your in your instructions. I was always informed only plastic or glass (preferably glass). Doesn’t stainless steel have properties that can kill the organisms in the starter?
@Blake – I’m a complete amateur in that my first loaves of sourdough are proving at the moment, but The Sourdough School Cookbook and Tartine Bread both mention that temperature has a big influence on production of acetic acid vs lactic acid. Acetic = more sour; Lactic = more sweet.
I found that 50/50 rye and all-purpose white + 21C room temperature + cracked lid for small amount of air circulation (i.e. not anaerobic) was giving me super acetic starter after 12 hours: smelled like apple cider vinegar.
I wanted to initially try a sweeter starter so I switched to 100% all-purpose white and started storing it on top of my fridge, where it is warmer (around 30C) and maintaining same air exposure. These changes had the desired effect of lessening the acetic acid and I presume increasing lactic, based on the smell. The reason for the flour switch was because the starter seems to get more acetic the longer it’s left after reaching maturity. Rye was rising much faster (3-5 hours), so I used all white to slow it down.
Both books also mention doing a retarded prove to increase sourness as well, meaning letting the dough rise in the banneton in the fridge for 12-24 hours, covered with a tea towel, for its final prove before baking. So main bullet points: maybe try storing starter in a cooler spot, adding some rye flour or letting it sit a little longer between refreshes, and doing the final prove overnight in the fridge.
I’ve baked ten or so sourdough loaves (using Grain flour). Results are acceptable but a more sour taste is what I’m aiming for. I read increasing the qty of flour in the ratio when refreshing the starter achieves this. Not fully satisfied with the results yet. Any suggestions?