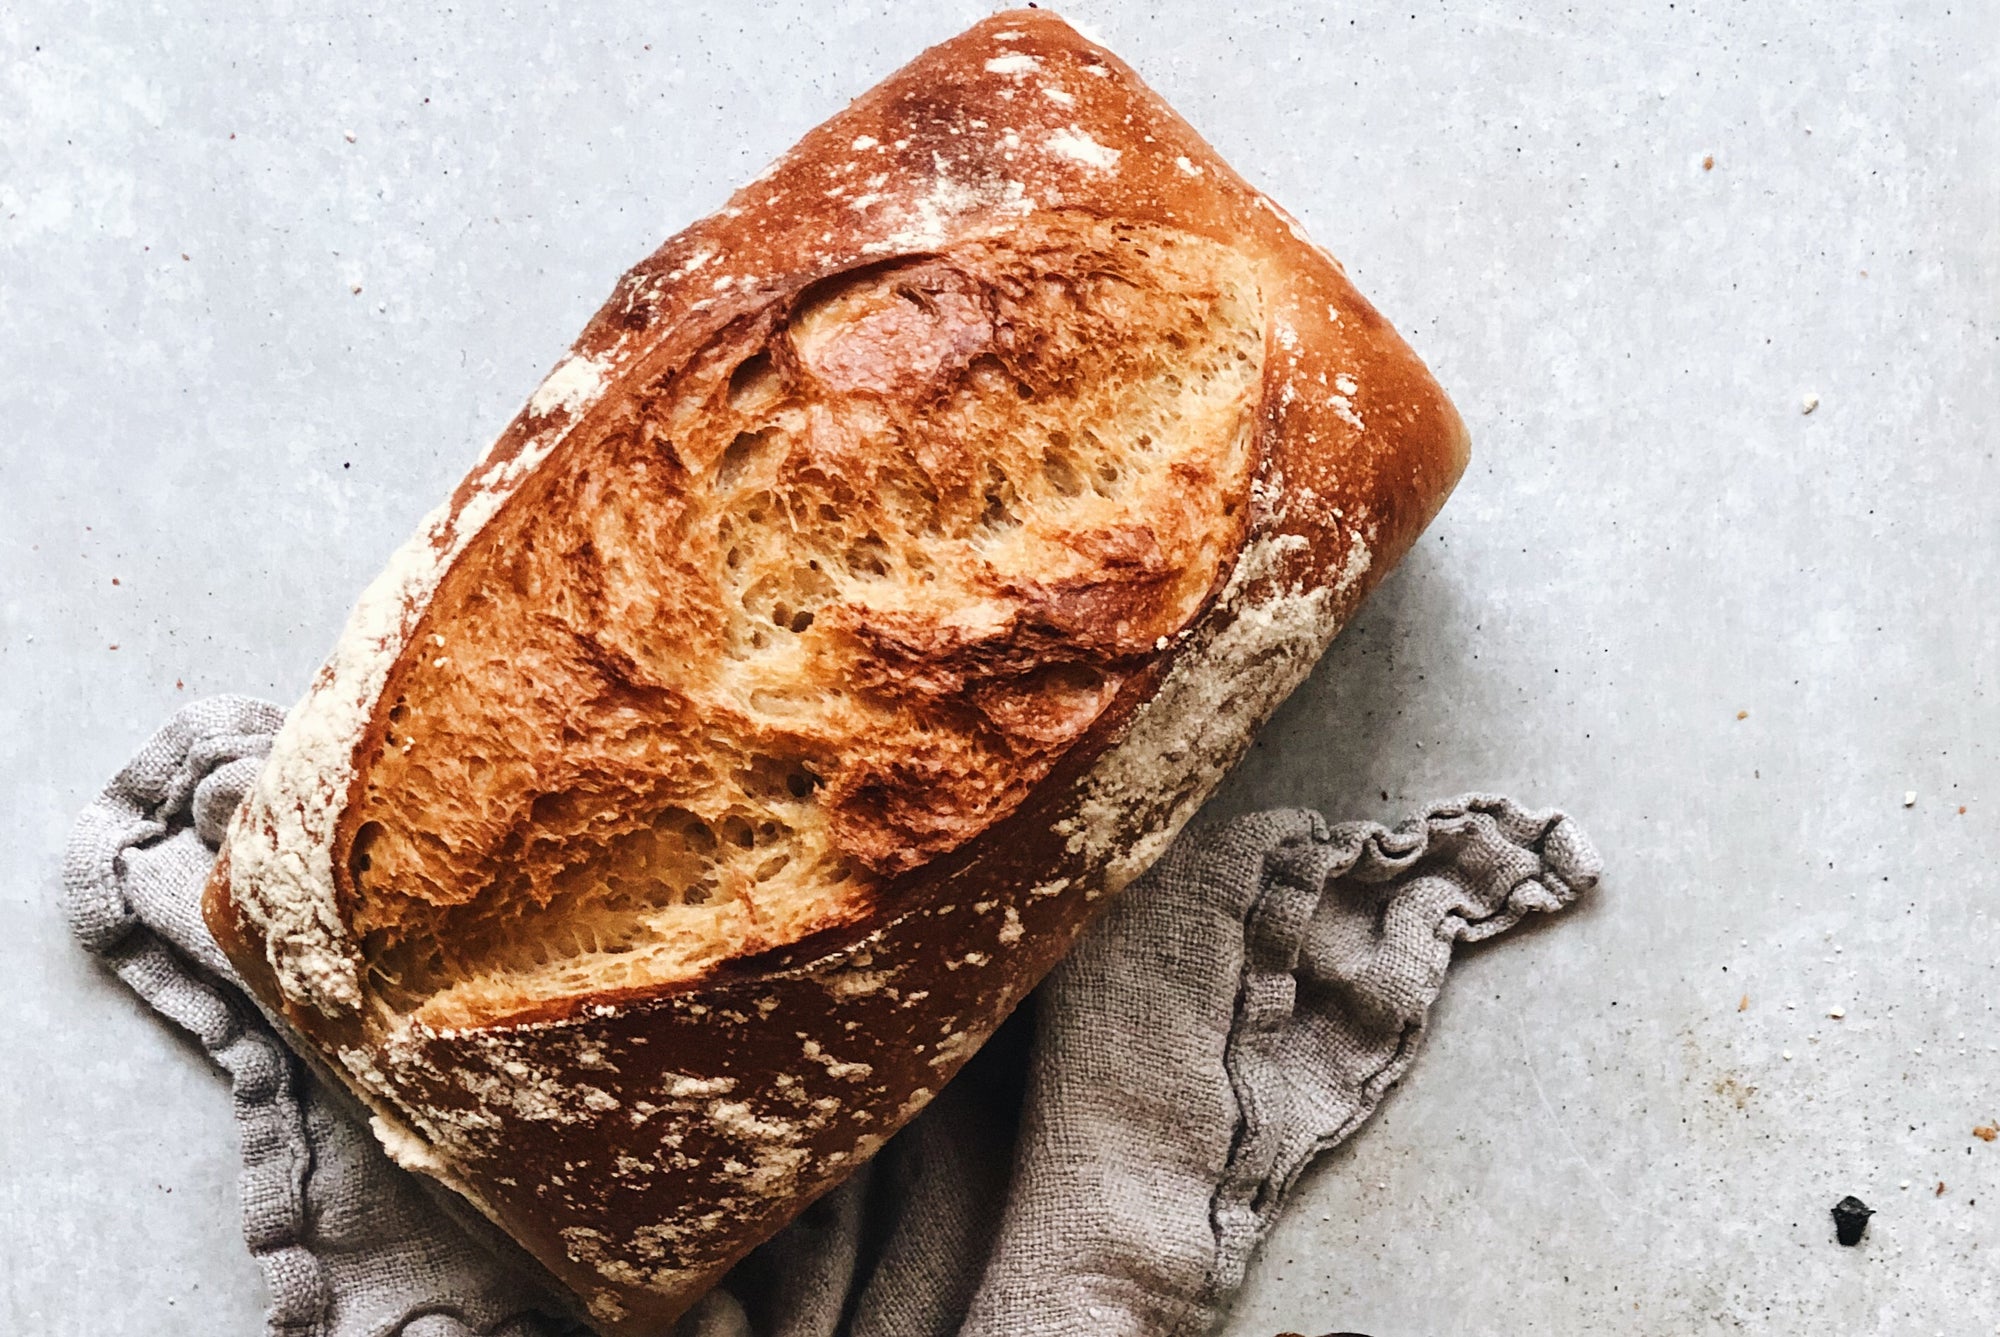
Since creating our popular Basic Sourdough Boule recipe, we've been asked by many of you if it is possible to bake this recipe in loaf pans. With this goal in mind, we are excited to share this recipe for sourdough bread that does not require a dutch oven or bannetons!
Sourdough Pan Loaves are very forgiving and a great gateway to experiencing success in baking sourdough bread, particularly for beginners.
Follow the recipe as is until your final shape. When it comes to the final shape, you need to shape your loaves a bit differently.
Begin by spraying or oiling your loaf pans. Then, flip the preshaped round over and fold the top in towards the middle, pressing down slightly. Do the same with the bottom. Rotate 180° and grab the top and bring down again towards the middle. Roll it in on itself until you reach the end, pressing down slightly to create a seam. Transfer, seam side down, into the loaf pan. Cover with plastic wrap and refrigerate overnight.
Baking
Pull bread from the fridge and proof at room temperature for 1-2 hours. Check to see if your bread is proofed by pressing a lightly floured finger into the dough. When you remove your finger the indentation you made should remain and only very slightly spring back. Once you reach this stage preheat your oven to 450°F. Set up your racks with one in the middle of the oven and one underneath. Fill a shallow cake pan (you want one that is shallow enough to fit on the bottom rack) with about an inch of water and slide in between the two racks to sit on the bottom rack.
Lightly score the loaves (this is optional but your bread may naturally crack open if you do not score), and place on the middle rack. Lower the oven to 425°F and bake for 30 minutes. After the 30 minutes, very carefully remove the cake pan with water from the oven. Bake for an additional 15-20 minutes, until a thermometer inserted into the middle of the loaf reads 200°F. Remove from the oven and immediately invert out onto a wire rack to cool.
This recipe may take some tweaking in terms of baking times and temperatures. We found when testing that each of our ovens had a slightly different bake. It is important to check the temperature throughout your bake as this is the most reliable way to ensure that your loaf is fully baked.


Comments
Hi Amanda – the recipe yields two pan loaves!
How many pan loafs would the full recipe make? I assume that the recipe for 2 boules would make more than 2 pan loafs. I have a 8.5×4.5in loaf pan
Looking for bread recipes for the different 6 flours, please and thank you
I use two identical loaf pans with lips, one as a lid, binder-clipped atop the other. This eliminates the need for a steam pan. It’s called a Poor Man’s Dutch Oven. See https://www.youtube.com/watch?v=MxSbUYjBEEY for how-to.
how many hours should it proof overnight in the fridge? would 14 be too many?
I keep popping my top. What do I do?
I made this today with the Flourist starter and 25/75% Flourist Whole Grain and Sifted Red Spring. It is fabulous.
I found I only needed to cook it for 30 + 12 minutes (very consistent Wolf gas oven).
Any suggestions on how to get a better sheen on the crust? I put the cake pan of water in the oven, but can’t achieve that beautiful shiny crust.
Would love a bun recipe for sourdough too!
Hi Meg! We recommend using standard loaf pans for this but you can use the Pullman loaf without a lid. The recipe is not scaled for a Pullman pan, but we always encourage experimentation and it could absolutely be done!
This is great! Would you suggest using a Pullman loaf pan? Or are you using a regular loaf pan?